
Growing Spring Greens: The Guide To Planting & Nurturing Fresh, Healthy Greens from Seeds is a comprehensive resource that provides all The necessary information on successfully growing spring greens. From selecting The right seeds To preparing The soil, this guide offers step-by-step instructions & valuable tips for cultivating vibrant & nutritious greens. Whether you are an experienced gardener or just starting out, this book is a must-have for anyone looking To enjoy The benefits of homegrown greens. With easy-To-follow guidelines & expert advice, you can transform your backyard into a bountiful garden of fresh, healthy greens.
Growing Spring Greens: The Guide to Planting and Nurturing Fresh, Healthy Greens from Seeds. Learn how To grow spring greens effortlessly with our comprehensive guide. Discover The secrets To successfully planting & nurturing fresh, healthy greens from seeds. Start your journey towards a bountiful harvest today!
Growing Spring Greens: The Guide To Planting & Nurturing Fresh, Healthy Greens from Seeds
Spring is The perfect time To start growing your own fresh, healthy greens from seeds. Not only is it a rewarding experience, but it also allows you To enjoy The freshest & most nutritious greens right from your own backyard. In this guide, we will walk you through The process of planting & nurturing your spring greens, ensuring a successful harvest.
Choosing The Right Seeds
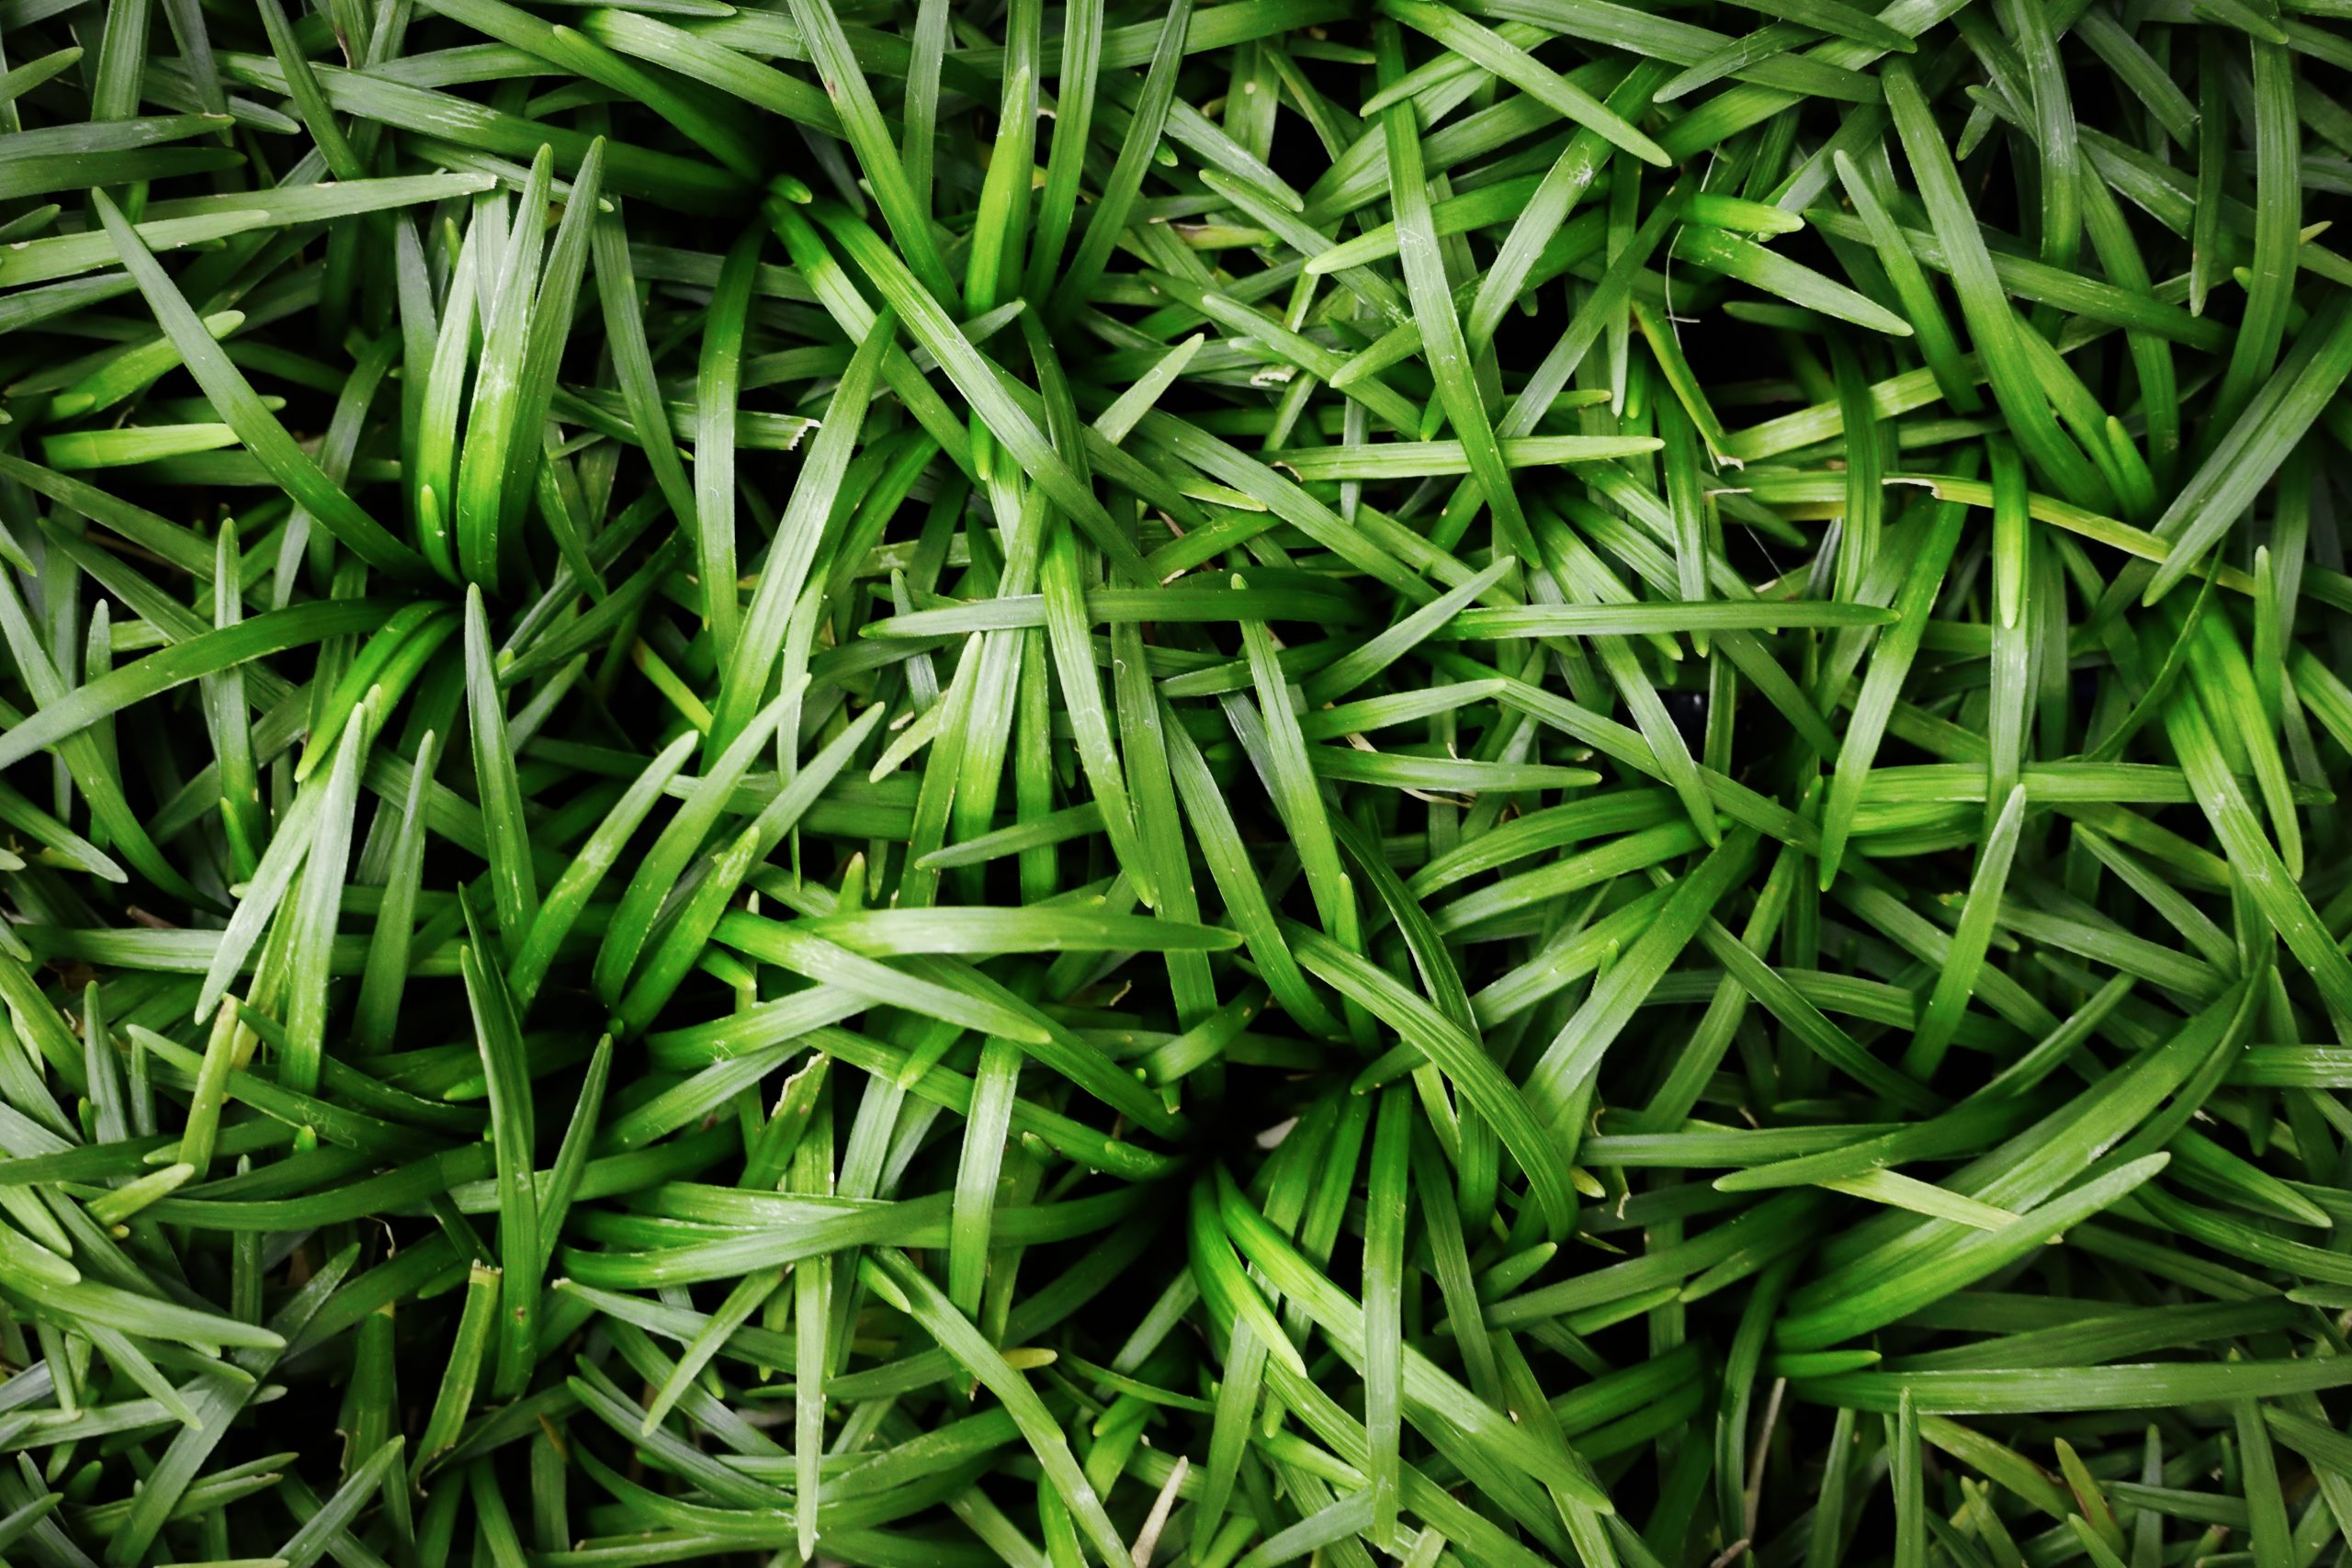
The first step in growing spring greens is selecting The right seeds. Consider The varieties that are well-suited for The spring season, such as spinach, lettuce, arugula, & kale. These greens thrive in cooler temperatures & will provide you with an abundance of flavors & nutrients.
When choosing seeds, opt for organic & heirloom varieties whenever possible. They are not only better for The environment but also tend To produce more flavorful & nutritious greens. You can find a wide selection of high-quality spring green seeds at High Mowing Organic Seeds.
Preparing The Soil
Before planting your seeds, it’s essential To prepare The soil properly. Start by clearing The area of any weeds or debris. Loosen The soil with a fork or a garden tiller To ensure good drainage & aeration. Adding compost or well-rotted manure will enrich The soil with nutrients, creating a favorable environment for your greens To grow.
Once The soil is prepared, create rows or raised beds for planting. Make sure To leave enough space between each row or bed To allow for proper growth & maintenance.
Planting The Seeds
When planting your spring greens, follow The instructions on The seed packet for spacing & depth. In general, greens like spinach & lettuce should be sown directly into The soil, while kale & arugula can be started indoors & transplanted later.
Ensure that The soil is moist before planting The seeds. Gently press The seeds into The soil at The recommended depth & cover them with a thin layer of soil. Water The area thoroughly & keep The soil consistently moist throughout The germination process.
Nurturing Your Greens
As your spring greens begin To grow, it’s important To provide them with The proper care & attention. Here are some key tips for nurturing your greens:
- Watering: Greens need regular watering To keep The soil moist. Water deeply & avoid overhead watering To prevent diseases.
- Weeding: Remove any weeds that may compete with your greens for nutrients & space.
- Thinning: Once The seedlings have grown a few inches tall, thin them To allow proper spacing for healthy growth.
- Fertilizing: Feed your greens with a balanced organic fertilizer To promote strong & vigorous growth. Avoid over-fertilizing, as this can lead To excessive leaf growth & reduced flavor.
- Pest Control: Monitor your plants for any signs of pests, such as aphids or slugs, & take appropriate measures To control them organically.
By following these nurturing practices, you will ensure that your spring greens thrive & produce a bountiful harvest.
Enjoying Your Harvest
Once your spring greens are ready for harvest, it’s time To enjoy The fruits of your labor. Harvest The outer leaves of lettuce & spinach, allowing The inner leaves To continue growing. For kale & arugula, you can harvest The entire plant or pick individual leaves as needed.
Spring greens are incredibly versatile & can be enjoyed in various dishes. From fresh salads To sautéed greens, The possibilities are endless. Explore different recipes & savor The incredible flavors & nutritional benefits that your homegrown greens have To offer.
My Experience with Growing Spring Greens
As an avid gardener, I have experienced The joy & satisfaction of growing my own spring greens from seeds. It is a rewarding process that not only provides me with fresh & healthy greens but also allows me To connect with nature & practice self-sufficiency. Watching The seeds germinate, caring for The seedlings, & finally harvesting The greens is a truly fulfilling experience.
Over The years, I have learned valuable lessons about soil preparation, seed selection, & nurturing techniques. Each season brings new opportunities for experimentation & growth. I encourage you To embark on your own journey of growing spring greens & discover The immense pleasure it can bring.
Features of Growing Spring Greens
- Wide selection of organic & heirloom seeds
- Easy-To-follow planting & nurturing guidelines
- Tips for proper watering, weeding, & fertilizing
- Natural pest control methods
- Harvesting & recipe ideas
- Enhanced flavors & nutritional benefits
- Opportunity for self-sufficiency & connection with nature
🌱 Start growing your own spring greens today & experience The joy of harvesting fresh, healthy greens from your own garden!
Introduction
When it comes To growing fresh & healthy spring greens, there’s nothing quite like planting & nurturing them from seeds. Not only is it a cost-effective way To grow your own produce, but it also allows you To have full control over The entire process, from seed selection To harvest. In this comprehensive guide, we will walk you through The steps of growing spring greens from seeds, ensuring a bountiful harvest of vibrant & nutritious greens for your table.
Choosing The Right Seeds
The first step in growing spring greens is choosing The right seeds. It’s important To select high-quality seeds that are specifically suited for The spring season. Look for varieties that are known for their ability To thrive in cooler temperatures & shorter days. Some popular spring greens include spinach, lettuce, arugula, & kale.
When purchasing seeds, it’s best To opt for organic & non-genetically modified options. These seeds are free from harmful pesticides & have not been genetically modified, ensuring a healthier & more environmentally-friendly growing experience. You can find a wide selection of spring greens seeds from reputable seed suppliers like Seedway.
Take The time To read The seed packets & look for information on The ideal growing conditions for each variety. This will help you choose seeds that are best suited for your climate & growing environment.
Preparing Your Soil
Before sowing your spring greens seeds, it’s essential To prepare your soil properly. Spring greens thrive in well-drained soil that is rich in organic matter. Start by removing any weeds or debris from The area where you plan To plant your greens. Loosen The soil with a garden fork or tiller, breaking up any clumps & ensuring a fine texture.
Next, incorporate organic matter into The soil To improve its fertility & structure. You can use compost, well-rotted manure, or a combination of The two. Spread a layer of organic matter over The soil & work it in with a garden rake or tiller. Aim for a depth of at least 6 inches To ensure that your spring greens have enough nutrients To thrive.
Once you’ve prepared The soil, water it thoroughly & allow it To settle for a day or two before sowing your seeds.
Sowing Your Seeds
Now that your soil is ready, it’s time To sow your spring greens seeds. Follow The instructions on The seed packet for The recommended spacing & depth. In general, spring greens seeds should be sown at a depth of ¼ To ½ inch. Space The seeds according To The recommended distance, as overcrowding can lead To poor growth & competition for resources.
After sowing The seeds, lightly cover them with soil & gently pat it down To ensure good seed-To-soil contact. Water The area thoroughly but gently, using a watering can or a gentle spray nozzle on your hose. Be careful not To wash away The seeds or disturb The soil too much.
Keep The soil consistently moist but not waterlogged as your spring greens seeds germinate & grow. Depending on The variety, you can expect To see seedlings emerge within a week or two. Continue To monitor The soil moisture & provide water as needed.
Nurturing Your Greens
As your spring greens grow, it’s important To provide them with The care they need To thrive. Here are some essential tips for nurturing your greens:
1. Sunlight: Spring greens thrive in full or partial sunlight. Make sure they receive at least 4-6 hours of direct sunlight each day. If you’re gardening in a shady area, choose varieties that are more tolerant of shade.
2. Watering: Keep The soil consistently moist by watering your greens regularly. Avoid overhead watering, as it can promote disease. Instead, water at The base of The plants or use a drip irrigation system.
3. Mulching: Apply a layer of organic mulch around your greens To help conserve moisture, suppress weeds, & regulate soil temperature.
4. Fertilizing: Spring greens generally don’t require heavy fertilization if you’ve prepared The soil properly. However, you can apply a balanced organic fertilizer once a month To provide additional nutrients.
5. Pest Control: Keep an eye out for common pests that can damage your greens, such as aphids, slugs, & snails. Use organic pest control methods, such as hand-picking, companion planting, or applying natural pest repellents.
The Harvest
Once your spring greens have reached maturity, it’s time To harvest them & enjoy The fruits of your labor. The exact harvesting method will depend on The type of green you’re growing, but here are some general guidelines:
Lettuce: Harvest lettuce by cutting The outer leaves with a sharp knife, leaving The center To continue growing.
Spinach: Spinach leaves can be harvested individually by gently pulling them off The plant, starting with The outer leaves.
Arugula: Arugula leaves can be harvested when they reach The desired size by either cutting them with a knife or pulling them off The stem.
Kale: Kale can be harvested by cutting The outer leaves as needed, allowing The center To continue producing more leaves.
Remember To wash your harvested greens thoroughly before consuming them. Freshly harvested spring greens can be used in salads, sandwiches, stir-fries, or juiced for a nutrient-packed beverage.
Comparison of Spring Green Varieties
| Variety | Days To Maturity | Taste | Hardiness |  |
|---|---|---|---|---|
| Lettuce | 45-55 | Mild & crisp | Fairly hardy | 🥬 |
| Spinach | 40-50 | Mild & slightly earthy | Hardy | 🍃 |
| Arugula | 35-45 | Peppery | Tolerant of heat & cold | 🌿 |
| Kale | 50-65 | Robust & slightly bitter | Very hardy | 🌱 |
Grow Your Own Spring Greens Today!
Growing spring greens from seeds is a rewarding experience that allows you To enjoy fresh, healthy greens right from your garden. Whether you have a spacious backyard or a small balcony, you can easily grow your own spring greens & reap The benefits of homegrown produce. Remember To choose high-quality seeds, prepare your soil properly, provide adequate care, & harvest your greens at The right time. With a little time & effort, you’ll be enjoying a bountiful harvest of vibrant & nutritious spring greens in no time.
Finally, I have personal experience with growing spring greens in my own backyard. It’s incredibly satisfying To see The tiny seeds transform into lush, vibrant greens that I can use in my cooking. The taste & freshness of homegrown spring greens are unparalleled, & I love knowing that I have full control over The growing process. If you haven’t tried growing spring greens from seeds yet, I highly recommend giving it a go. It’s a rewarding & fulfilling hobby that will enhance your connection with nature & provide you with delicious, nutritious greens throughout The season.
:max_bytes(150000):strip_icc()/201306-xl-sauteed-spring-greens-with-bacon-and-mustard-seeds-2000-0fe9d0c63e754e4d9c5566acafd8ffcc.jpg)
How do I start growing spring greens from seeds?
To start growing spring greens from seeds, prepare a well-draining garden bed or container with nutrient-rich soil. Sow The seeds directly into The soil or containers, following The recommended spacing & depth for each type of green. Keep The soil consistently moist & provide enough sunlight for proper growth.
What are The ideal growing conditions for spring greens?
Spring greens thrive in cool temperatures, so it’s best To plant them in early spring or late fall. They prefer a location with partial shade but can tolerate full sun if The soil remains consistently moist. Adequate moisture & regular watering are essential for healthy growth.
What types of spring greens can I grow?
There are numerous varieties of spring greens To choose from, including lettuce, spinach, kale, arugula, & Swiss chard. Each has its distinct flavor & nutritional profile. Consider growing a mix of different greens To enjoy a diverse range of flavors.
How often should I water my spring greens?
Water your spring greens regularly, aiming for about 1 inch of water per week. Keep The soil consistently moist but avoid overwatering, as soggy soil can lead To root rot. Adjust The frequency of watering based on weather conditions & The moisture levels of The soil.
When can I start harvesting my spring greens?
You can typically start harvesting spring greens when The leaves reach a mature size. This usually takes about 4-6 weeks after sowing The seeds, depending on The specific variety. Harvest by cutting The outer leaves, leaving The inner ones To continue growing.
How can I prevent pests from damaging my spring greens?
To prevent pests from damaging your spring greens, consider using natural remedies such as neem oil or insecticidal soap. Regularly inspect your plants for any signs of pest infestation, like holes in leaves or chewed edges. Removing weeds & practicing crop rotation can also help deter pests.
What is The best way To store harvested spring greens?
After harvesting your spring greens, wash them thoroughly To remove any dirt or debris. Gently pat them dry & store them in airtight containers or plastic bags in The refrigerator. Properly stored, most spring greens can stay fresh for up To a week.
Can I grow spring greens in containers?
Yes, you can grow spring greens in containers. Choose deep containers with drainage holes To allow excess water To escape. Fill The containers with well-draining soil & sow The seeds following The recommended spacing. Place The containers in a location with adequate sunlight & water regularly.
Conclusion
In conclusion, growing spring greens from seeds can be a rewarding & fulfilling experience. By following a few simple guidelines, you can successfully plant & nurture fresh, healthy greens right in your backyard.
Throughout this guide, we have emphasized The importance of selecting The right seeds, preparing The soil properly, providing adequate water & sunlight, & protecting The greens from pests & diseases. By paying attention To these factors, you can ensure optimal growth & a bountiful harvest.
Remember, it is crucial To maintain a conversational tone & use simple language when it comes To gardening. Avoid jargon & complex terms that might confuse beginners or those with limited gardening knowledge. Our goal has been To provide clear & concise instructions that anyone can understand & apply.
Whether you are a seasoned gardener or just starting out, growing spring greens can bring immense joy & satisfaction. Not only will you be rewarded with a delicious & nutritious harvest, but you can also take pride in contributing To a healthier lifestyle for yourself & your loved ones.
So gather your seeds, prepare your soil, & get ready To embark on a green-growing adventure. With patience, care, & a little knowledge, you can create a thriving garden full of fresh, vibrant greens.
Happy gardening!